Hello my lovely crafter's and welcome to this month's crafty tips. I was in a shop a few weeks ago when I saw a selection of kitchen goodies that were only a few pound. I knew straight away what I would make with them. So this month, we will be
'Crafting from the Kitchen'.
I saw the jam pot covers and loved them straight away. A gorgeous fabric with a flower design and a gingham pattern too. The plastic cookie cutters will be useful and you will see why. The metal cutters I already had in my craft stash!
Additional items you will need:
basic craft essentials/card blanks/embellishments/stamps/ink pad/colouring medium/ribbons/lace/fimo clay/patterned papers/coloured card/stickles glitter glue/sakura pen/bakers twine.
First of all we are going to use Fimo clay to make some embellishments.
Colours I am using are:
black/purple violet/purple glitter/india red/white/white glitter/caramel.
First of all open the packs of Fimo. You won't need the full block of each. Cut each block in half.
Now knead each one to make a soft ball.
Using a small rolling pin, roll out each colour to about the thickness of a pound coin. A little tip, if you are rolling out more than one colour start with the lightest first. Keep wiping your rolling pin inbetween colours. This avoids transferring unwanted colour to the other clays.
Using a selection of cookie cutters, cut out the shapes.
Use a clay knife to gently cut away the trimmings.
Place on a baking tray covered with greaseproof paper.
Before baking, cut a small hole out of the black star.
Follow the instructions for baking on the packs of clay. I am baking mine on 130 o C for 30 minutes. While the clay is baking wrap all the trimmings and half used packs in cling film to store away. This stops the clay from drying out. I store mine in a tin.
Clean your craft mat ready for the next stage. When the clay has baked, set aside to cool before using on the next part.
Baked Clay shapes.
I am now going to show you ways of using them on your cards.
Card 1
Take a Kraft 8x8 card blank and round the corners.
Lay on your craft mat with the fold at the top. Glue one of the gingham jam pot covers to the centre using pinflair.
Wrap a piece of baker's twine about 3/4 of the way down the fabric. Using double sided tape to fix the ends inside the card. Use a shorter piece and tie a knot in the centre.
Glue the Fimo heart to the centre of jam pot cover.
Thread some of the twine through a heart shaped button and glue to the clay heart.
Glue the brown Fimo heart to the bottom right corner.
Glue one heart button in the centre of the brown heart, and two more in the top right corner and bottom left corner.
Use Memento Rich Cocoa ink to stamp a quote onto decorative paper. I'm using a quote from the stamp set by 'Heidi Grace Designs - Clear Stamps - Quotes'.
Cut out leaving a small border and ink the edges. Finally attach to the top left corner to finish the card.
The quote says
'Love doesn't make the world go 'round; love is what makes the ride worthwhile'
- Franklin P. Jones.
Card 2
Make an A5 white card blank.
Cut a piece of decorative paper to fit the front but leave a small border. Ink the edges with pink ink. The paper is Fizzy Moon Celebration's 8x8 Designer Paper Pack.
Attach a piece of pink ribbon down the centre of the paper and stick the ends on the underside with double sided tape. Attach to card.
Using glue attach the 3 fimo flowers along the length of ribbon.
Use Stickles Glitter glue to make flower centres.
Add a greeting and embellish with gems to finish.
Card 3
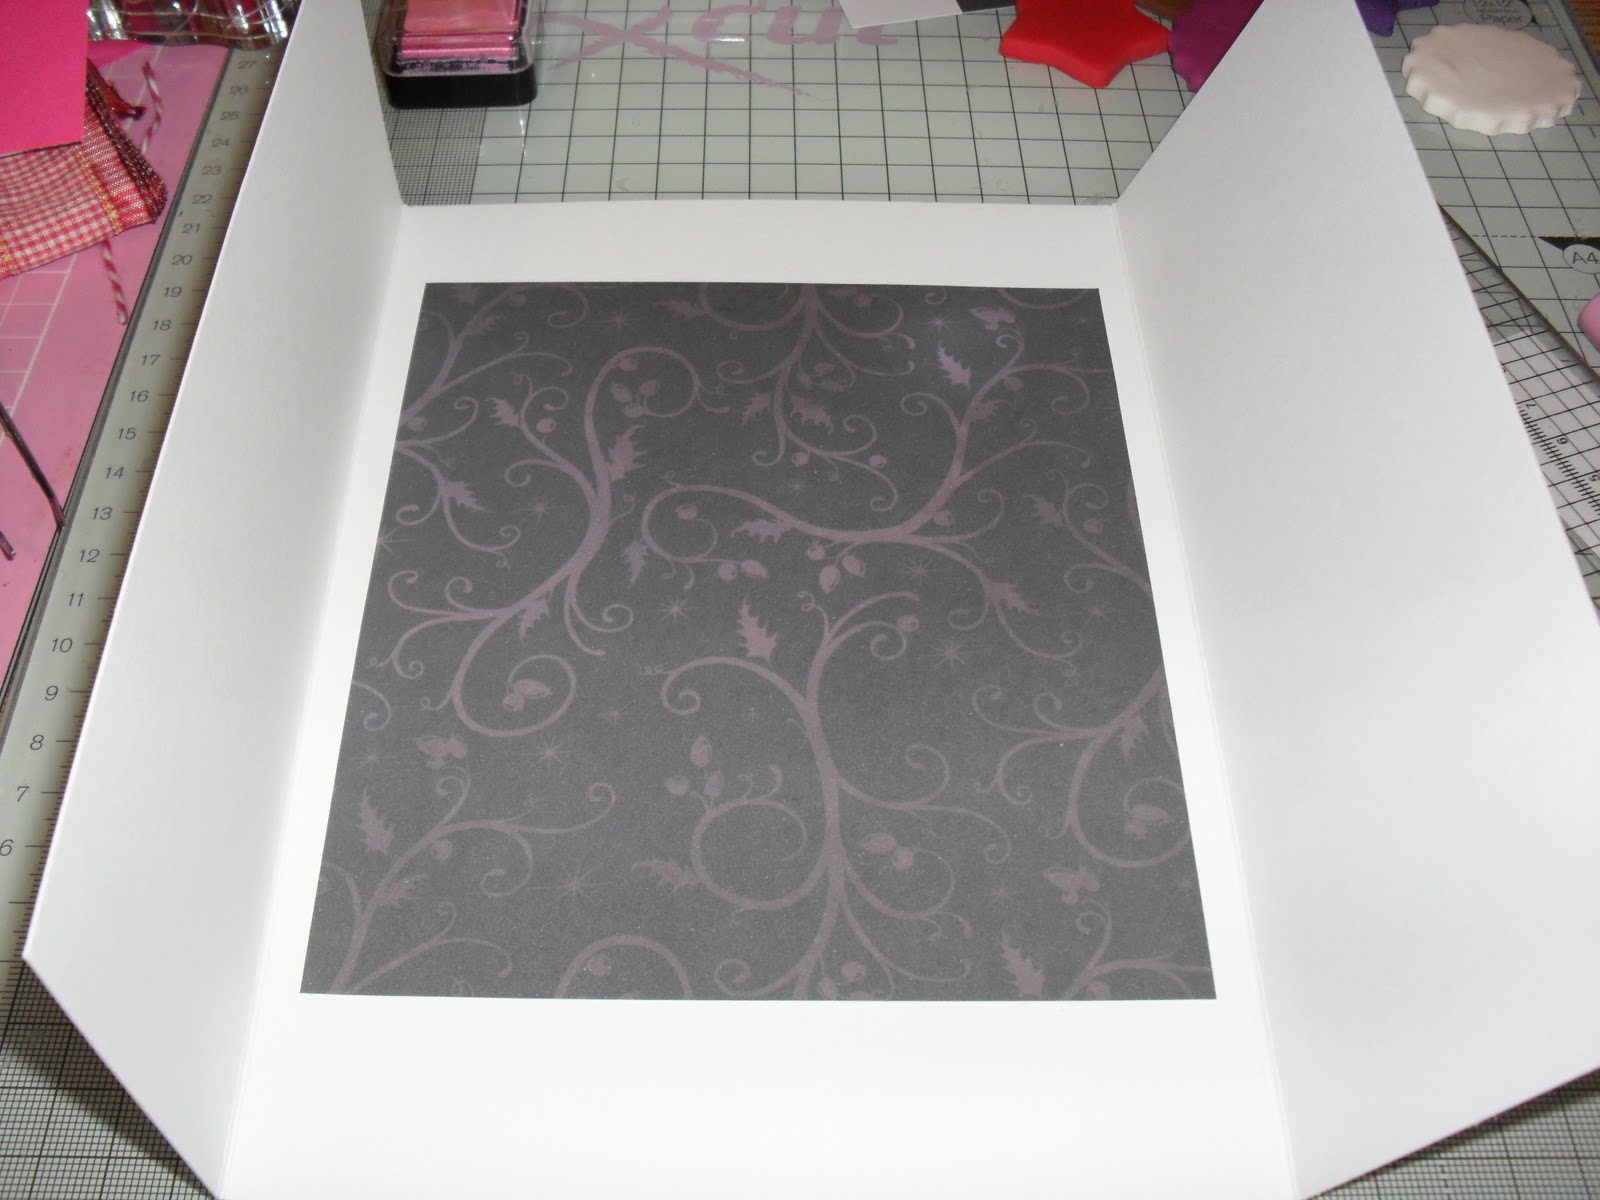
Make a Gatefold card blank from white card.
To decorate this I have downloaded the free images and papers you can get if you are a member of the Do Craft's Creativity Club. Use double sided tape to stick a piece of decorative paper inside the card, leaving a white border.
Cover the two front panels with decorative paper.
Cut out a Christmas image leaving a small white border and ink the edges. Use foam pads to attach it to the left panel. Make sure it overlaps the right panel when closed.
Take a length of ribbon long enough to wrap inside and all the way to the front. Secure it inside with mini glue dots. Tie the ends in a knot at the front.
Do the same on the other side.
Using a Sakura gelly roll pen in Silver Star carefully draw around the edge of the black Fimo star.
Thread ribbon through the hole, add a star gem to the centre and glue to the inside of the card. Add a die cut greeting just below.
To finish, embellish the front corners with star gems and the angels wings and halo with Diamond Stickles.
If you have any remaining Fimo shapes store them in a container for future projects.
Card 4
For the next card I am using Fizzy Moon papers from the pack as stated before.
Lay two co-ordinating papers patterned side down. Use the flower cutters as stencils and draw round.
Carefully cut out the flowers and ink the edges with pink ink.
Lay an A5 white card blank landscape.
Take a sheet of the Fizzy Moon paper with a bear holding a rose. Trim to fit the card leaving a white border. Ink the edges and stick to the card blank.
Use your bone folder to curl the flowers.
Attach a brad through the centre to hold them together. Use glue to stick the flower to the top left corner of the card.
To finish, add a greeting and embellish with pearls.
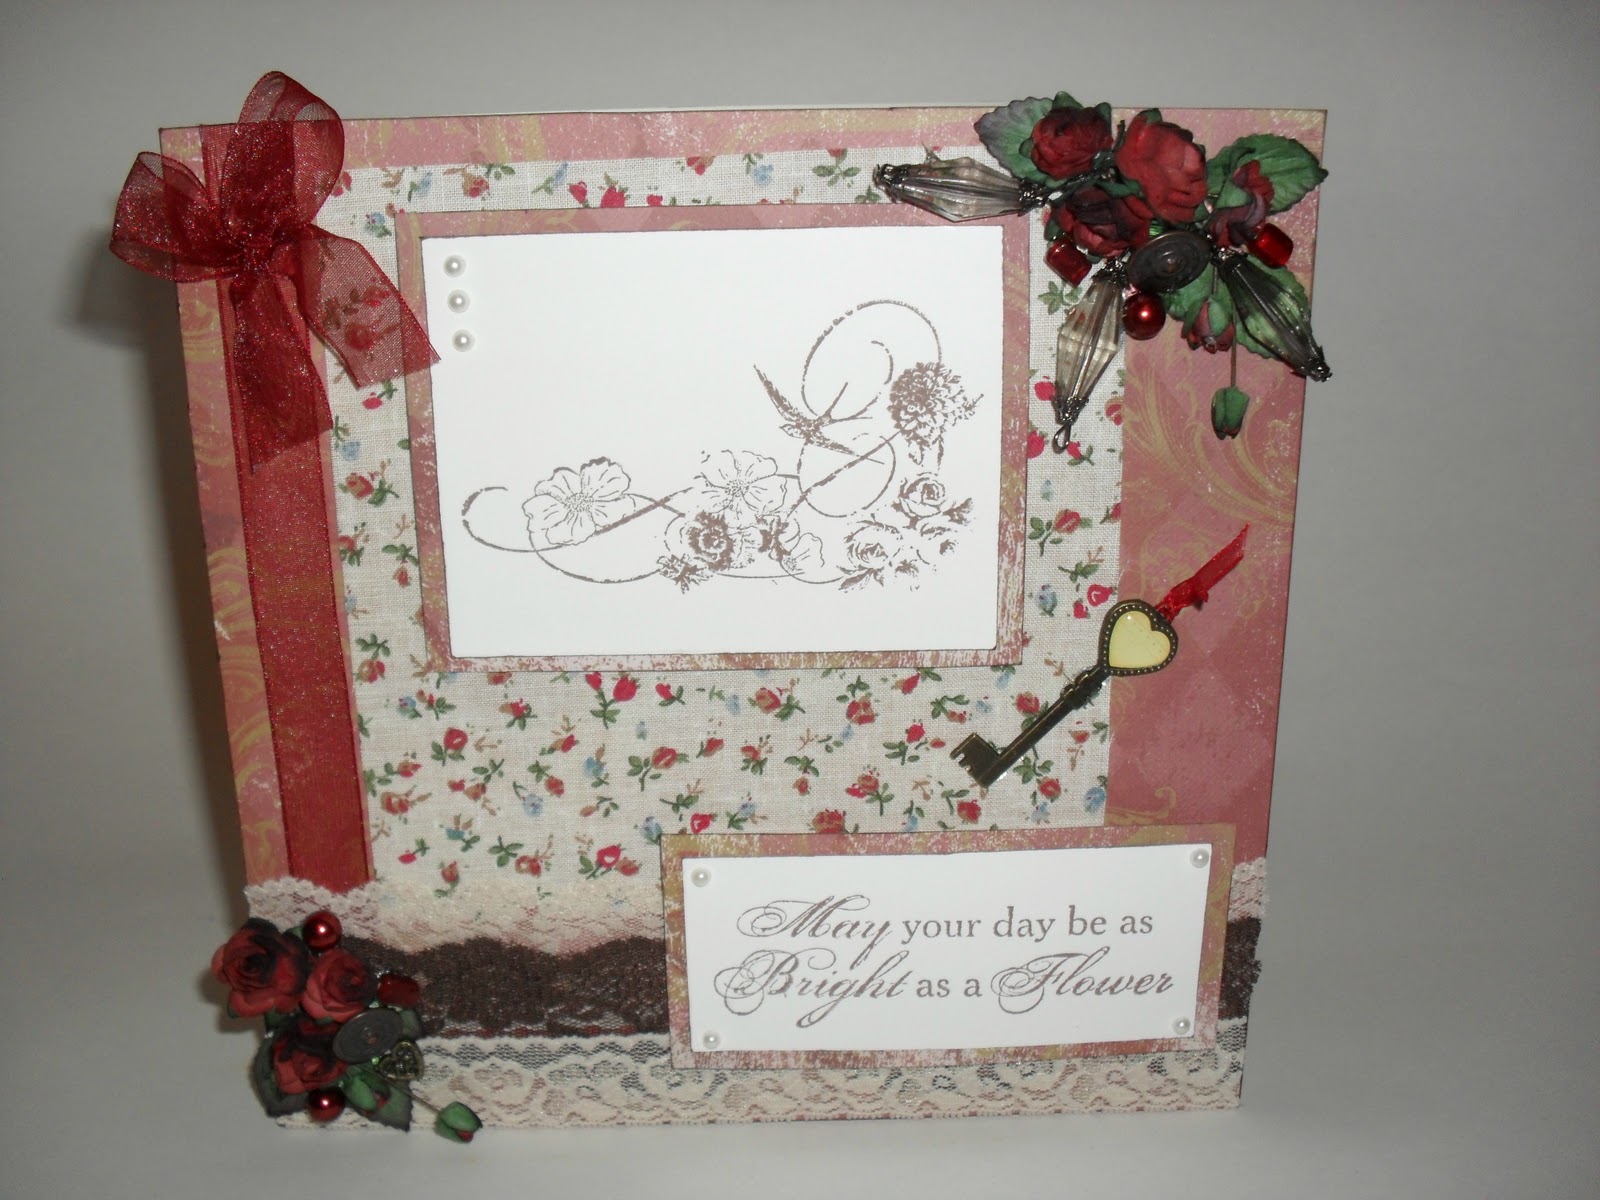
Card 5
Take a cream 8x8 card blank and cover with patterned paper. I'm using 'Creative Imagination's Harlequin'. Ink the edges with brown ink.
Attach a length of ribbon to the left hand side.
Stick a cream floral jam pot cover to the left of the card using double sided tape.
Make a bow and glue to the left corner.
Over lap three types of lace in brown and cream along the bottom, sticking down with double sided tape.
Stamp an image and text onto cream card using Memento Rich Cocoa ink. The stamp set I'm using is 'TPC Studio - Boho Blooms - Clear Stamps'.
Cut out, ink the edges and matt onto the harlequin paper. Leave a narrow border and ink the edges. Attach to the card.
To finish, embellish with roses and leaves, various findings and pearls.
Card 6
Make an A5 card blank and lay landscape.
Cover the front with decorative paper. I've used the striped paper that I down loaded from the Do Craft's Creativity Club. Ink the edges.
Stick the jam pot cover to the centre with double sided tape.
Attach a piece of lace along the bottom of the cover.
Stamp image onto white card and colour in. I've used a Lili of the Valley stamp and coloured with Whispers pens.
Carefully cut around the image, ink the edges with a Whispers pen. Stick to the centre of the card.
Take two covers and lay one on top of the other, but the top one turned around.
Pinch from the underside and twist to form a flower.
At this point wrap an elastic band that came with the covers around the base.
Pull at the fabric to separate it out until you are happy with the result.
Glue this flower to the bottom left corner making sure the band and stem is not visible. The ends of the fabric will be frayed. I like this, I think it adds to the charm of the card. If you don't, then just run along the edges with glossy accents or stickles. Make sure it is dry before you make the flower.
Finally embellish with pearls, a gem and Stickles Diamond glitter glue.
So here we have all the cards made from today's tutorial.
I just wanted to show you all the lovely embellishment's and card's you can make from a few items from your kitchen.
I hope you have enjoyed the tutorial as much as I have. If you make any of the cards please upload them on your blog and let me know. I can then pop over and have a look.
Thank you for taking the time to read all of this. I hope you have fun and a very happy crafting from me.
Till next time,
lots of love
NJ XXXXX